
Ready for a living room makeover? This step-by-step guide shows how to use AI interior design tools to plan and visualize a fresh new living room style with ease.
A living room is the heart of many homes – it’s where you relax, entertain guests, and spend quality time. If yours feels a bit stale or mismatched, a redesign can breathe new life into the space. But where to start? Using AI interior design tools, you can explore ideas and plan your living room makeover before lifting a paintbrush or buying any furniture. Let’s walk through a step-by-step approach to redesigning a living room with the help of AI.
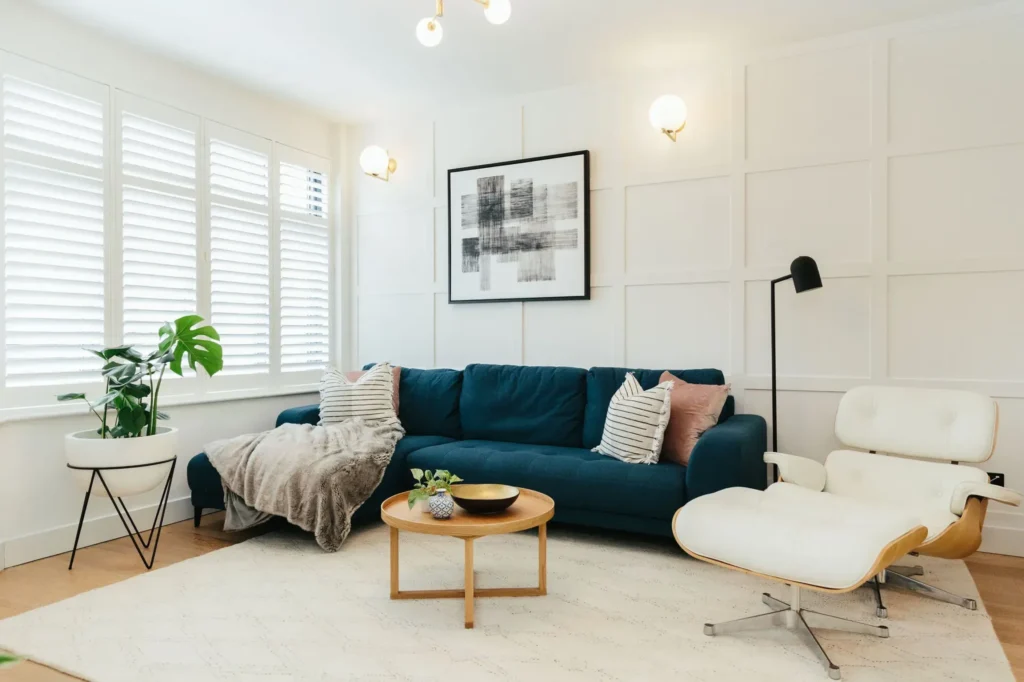
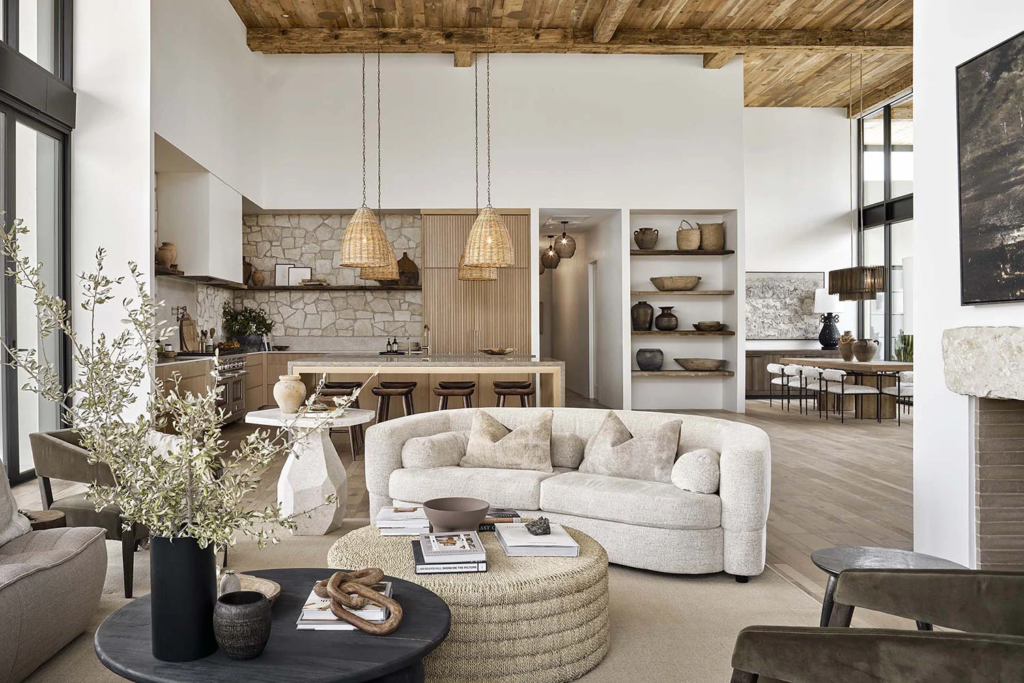
[Image Needed: A living room photo with an overlay of design suggestion icons (like color swatches, furniture ideas) to illustrate planning with AI]
Step 1: Take Clear Photos of Your Living Room
To let AI help you, you’ll need good pictures of your current space. Tidy up a bit so the room’s features are visible (e.g., move that laundry basket out of the way).
- Shoot from Multiple Angles: Stand in each corner and take a photo toward the center. This gives you (and the AI) a complete view of the room.
- Good Lighting: Take photos during the day with curtains open, if possible. Bright, even lighting helps the AI better “understand” the space in the image.
- Include Key Details: Make sure your photos show all the important elements, like windows, doors, and that fireplace or built-in shelves. The AI will use these as reference points.
Step 2: Find the Right AI Design Tool
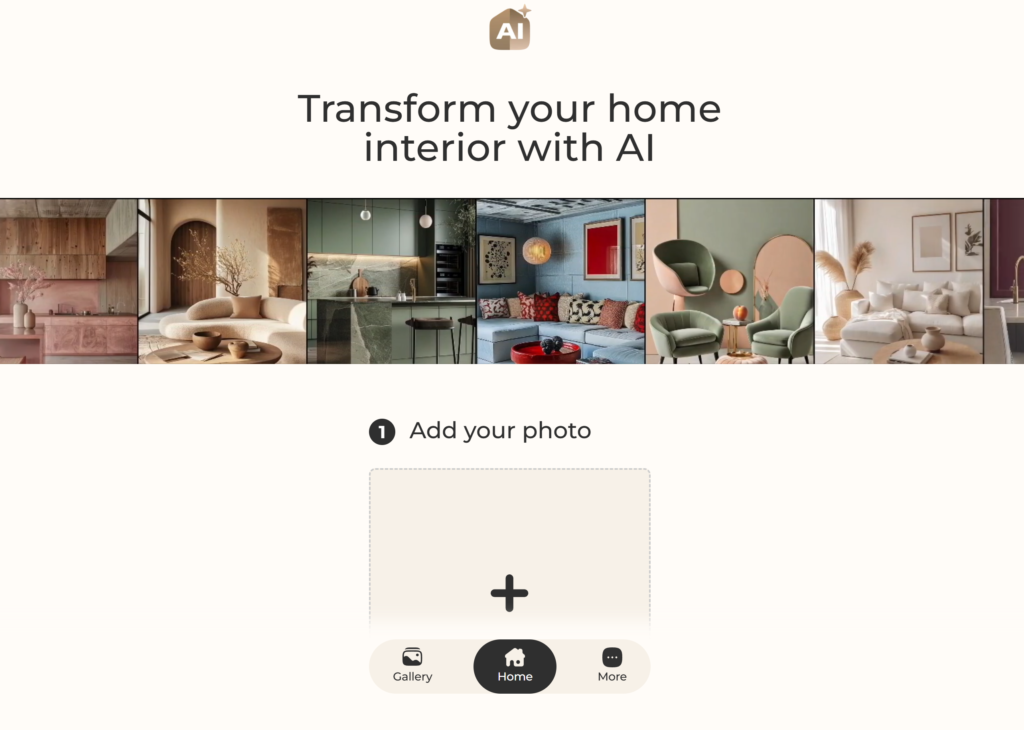
There are several AI interior design apps and websites. Some popular ones include Hestior, Planner 5D’s AI feature, or even general design platforms like HomeStyler with AI add-ons.
- Choose Your Tool: For this guide, let’s say you choose Hestior (with the Flux Canny model) because it’s known for clear and realistic transformations.
- Create an Account: If required, sign up and familiarize yourself with the interface. Most tools have a straightforward upload-and-go design.
- Check Limits: Free versions might limit how many designs you can generate per day, or the resolution of outputs. Know what you’re working with, or consider a trial of a premium version for this project if needed.
Step 3: Upload Your Photos

Once you’re in the tool:
- Upload the best photos you took of your living room. Usually, it’s as simple as drag-and-drop or tapping an upload button.
- Some tools let you mark the room type (e.g., “living room”), which can help tailor suggestions. Do that if prompted.
- Wait for the photos to process. The AI might take a moment to map out your room’s structure.
Step 4: Choose a Style or Theme

Now the fun part – deciding what direction you want for the new design.
- Browse Inspiration: Many AI tools have preset styles like “modern”, “coastal”, “industrial chic”, etc. Flip through these if you’re not sure what you want.
- Select or Describe: Either pick one of the preset styles or type in your own description. For example, you might type: “mid-century modern living room with warm colors and plenty of plants” or “minimalist Zen style living room”.
- Keep It Concise: You can always refine later, but start with a clear main idea for the AI to work with.
Step 5: Generate Design Ideas
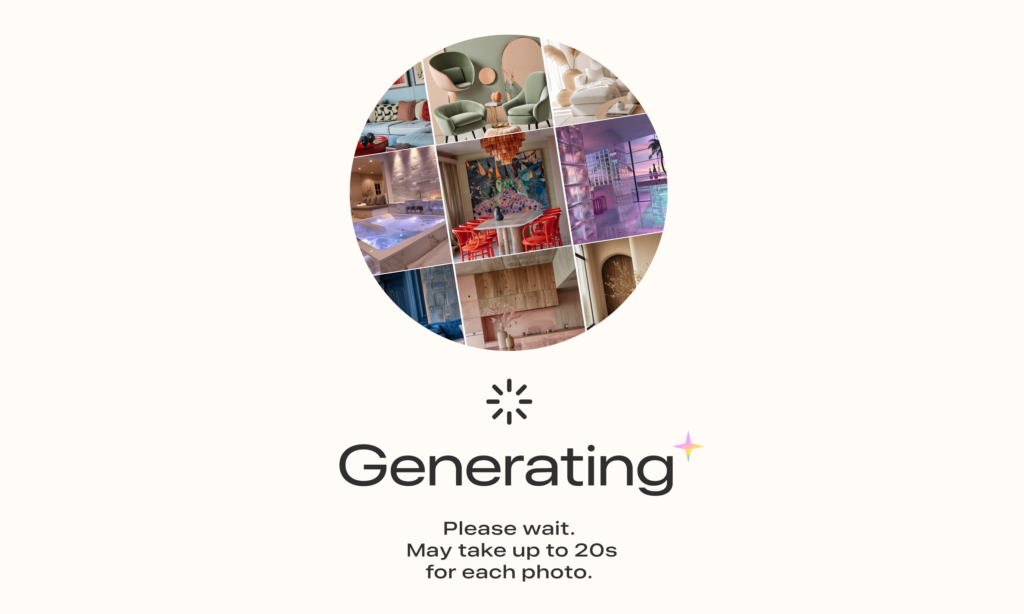
Hit that “Go” or “Generate” button! The AI will work its magic:
- In seconds (or maybe a minute or two, depending on the tool), you’ll see one or several images of your living room – redesigned according to the style you chose.
- Take a moment to analyze the results. What do you like? Maybe the suggested wall color looks great, and the way it rearranged furniture makes the space feel more open.
- Also note what you dislike or what feels off. Perhaps the AI added a coffee table style you’re not a fan of, or the room looks a bit too sparse for your taste.
Step 6: Refine the Design
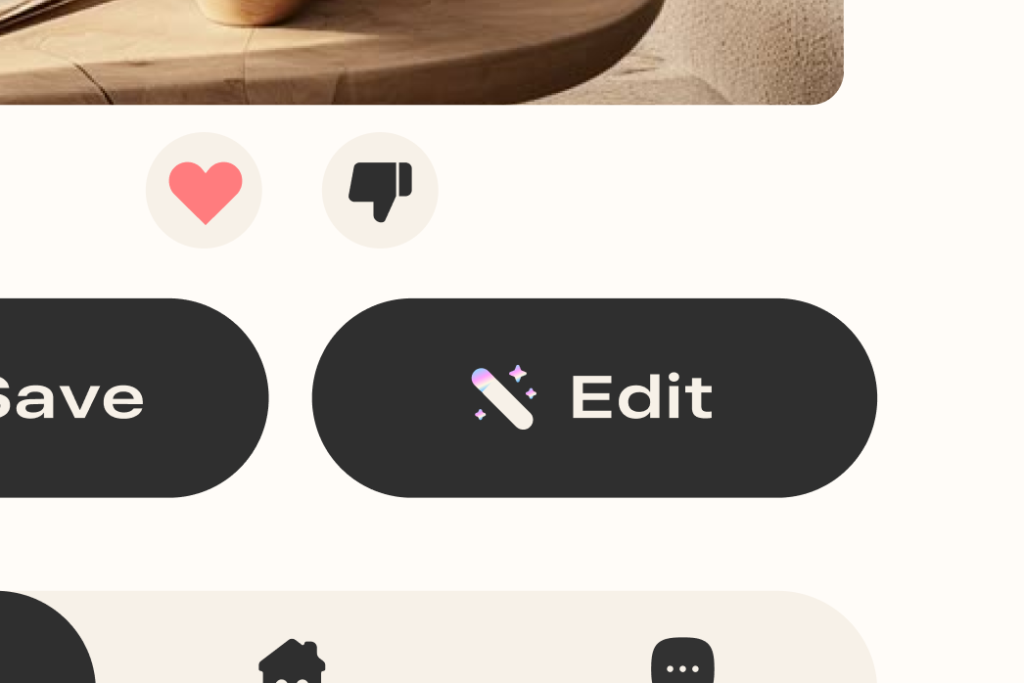
Rarely is the first output perfect. Use the tool’s options to tweak:
- Adjust the Prompt: If the room was too sparse, edit the style description to add “with cozy decor” or “include wall art”. Or if the colors were off, specify the palette (“with navy blue and cream colors”).
- Try Different Styles: Generate a new design with a different theme entirely (maybe try “bohemian chic” if “mid-century modern” didn’t resonate). It’s worth exploring a few looks.
- Mix and Match Ideas: You might end up with 3 AI-generated designs you like for different reasons. Perhaps one has the perfect layout, another has a color scheme you love, and the third introduced an accent chair that’s calling your name. That’s great – you can combine these ideas in the real-world plan.
Step 7: Finalize Your Plan

By now, you likely have a good sense of what you want to do:
- Save the AI-generated images that you love (most tools let you download them).
- Make a list of changes you’ll implement: e.g., paint walls light gray, get a green velvet sofa (like in the AI image), move the bookshelf to the other corner, add a large round mirror above the console table.
- If you’re unsure about some choices, show the AI images to friends or family to get their input. Sometimes an outside perspective confirms which design is most inviting.
Step 8: Implement Your Redesign
AI has done a lot of the heavy lifting in visualizing, but now it’s your turn to bring it to life:
- Shopping: Use the AI image as inspiration to find similar furniture and decor. Identify key pieces (e.g., a wooden mid-century style TV stand) and search for those.
- Painting & Rearranging: If a new wall color is in the plan, test a sample in your room’s lighting before committing. Rearrange furniture per the AI’s layout to improve flow.
- Small Touches: Add the decor (plants, lamps, art) that the AI suggested to tie the design together.
Step 9: Enjoy Your New Living Room!
The final step – sit back and enjoy the transformed space you’ve created. Thanks to a bit of AI-powered foresight, you avoided a lot of trial-and-error and guesswork. You could confidently choose that navy sofa knowing it would look great, or rearrange furniture knowing it fits well.
Remember, whether or not every detail ended up exactly like the AI image, you used it as a roadmap to navigate your redesign. And because you actively guided the process at each step, it’s truly your personal touch that shines through in the end result.
By following this guide, anyone can tackle a living room makeover with the confidence of a clear vision. AI is like a design buddy that helps you see possibilities, but you remain the true designer of your home.